Ninja Foodi Air Crisp Lid vs Pressure Lid: When to Use Each
Which Ninja Foodi lid goes with which function, how to pressure cook and then crisp in one pot, and the mistakes that cause soggy or burnt results.
By the Dalqi kitchen · Updated 2026-11-16 · 4 min read
Short answer
Use the pressure lid (the removable one) for pressure cooking, and on most models for steaming and slow cooking. Use the crisping lid (the hinged one attached to the unit) for air crisping, baking, roasting, broiling and dehydrating. The best results often come from using both: pressure cook to make food tender, then swap lids and crisp to brown it.
Some newer Foodi models have a single lid with a slider that switches between pressure and crisping modes. The same logic applies; you just move the slider instead of changing lids.
What each lid does
The pressure lid locks onto the pot with a seal and a pressure valve. It traps steam so the pot can reach high pressure and cook tough cuts, beans and grains quickly. It doesn't brown anything. On most models it also does steaming and slow cooking, with the valve set to vent for those.
The crisping lid holds a heating element and a fan. It works like an air fryer or small convection oven pointed down into the pot. It browns, crisps and bakes, but it can't build pressure, so it can't braise a pot roast in an hour.
Sear/Sauté uses the bottom heater with no lid at all, for browning meat before pressure cooking or reducing sauces after.
Which lid for which function
| Function | Lid (typical) |
|---|---|
| Pressure cook | Pressure lid, valve on seal |
| Steam | Pressure lid, valve on vent (most models) |
| Slow cook | Pressure lid, valve on vent, or a glass lid accessory |
| Yogurt | Pressure lid |
| Sear/Sauté | No lid |
| Air crisp | Crisping lid |
| Bake/Roast | Crisping lid |
| Broil | Crisping lid |
| Dehydrate | Crisping lid |
Functions and lid rules vary a little between Foodi generations, so check your manual if a function doesn't start. Most models simply won't run a function with the wrong lid in place.
The combo: pressure, then crisp
This is what makes a Foodi more than a pressure cooker. You get the tenderness of a long braise and the crust of an oven roast in the same pot:
- Pressure cook with the pressure lid until the food is tender.
- Release the pressure (natural or quick, as the recipe says) and remove the pressure lid.
- Drain or reduce the liquid if you want real crisping. Food sitting in liquid steams instead of browning.
- Close the crisping lid and air crisp or broil for 5–15 minutes until browned.
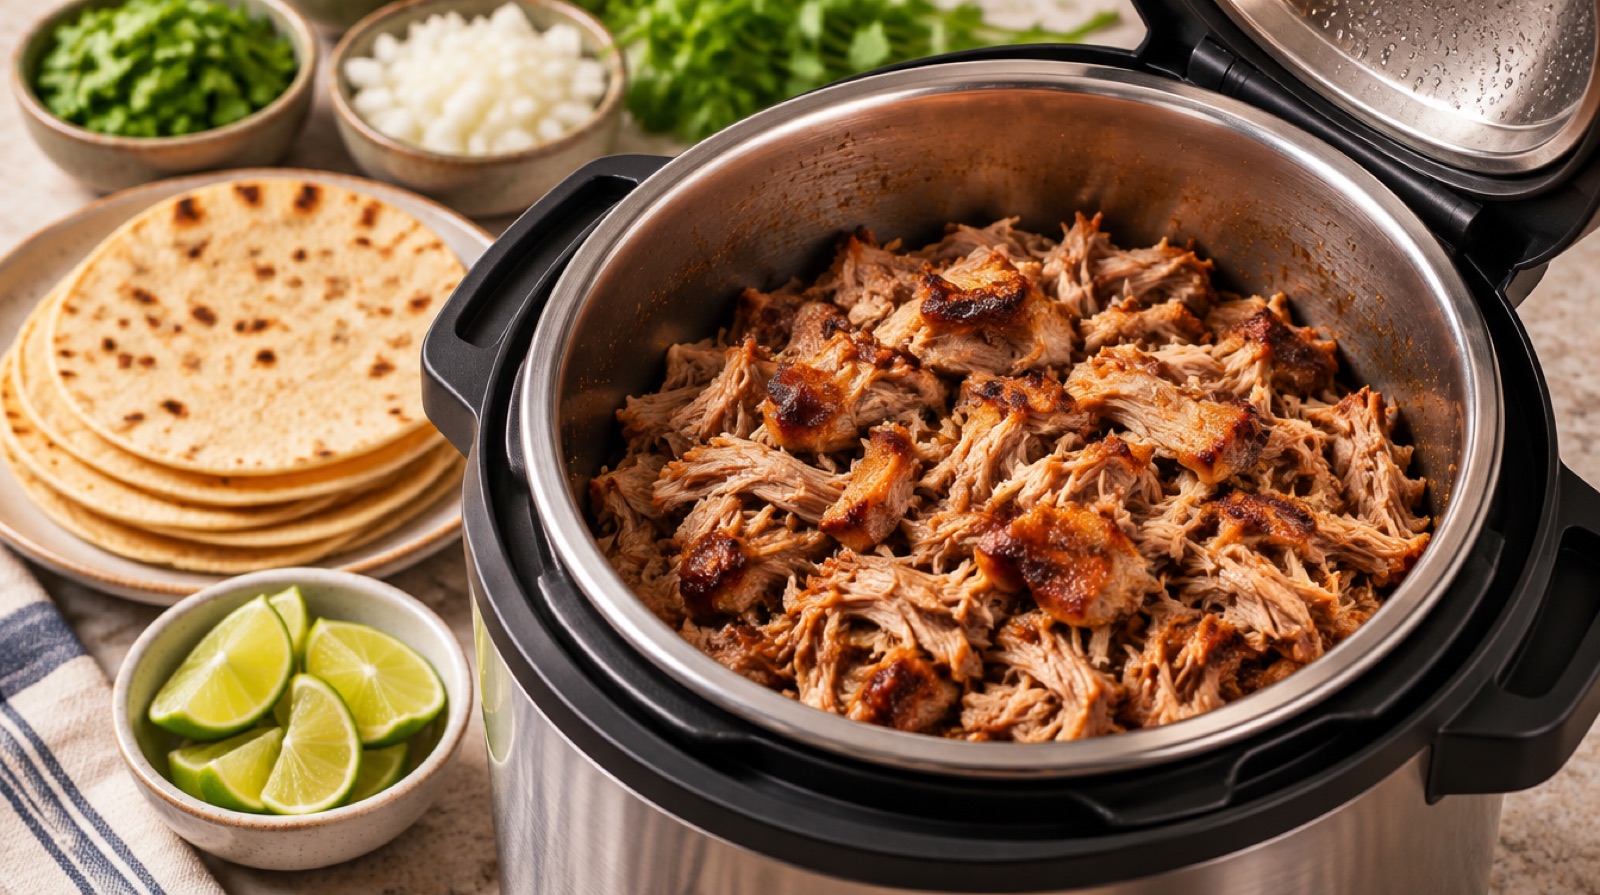
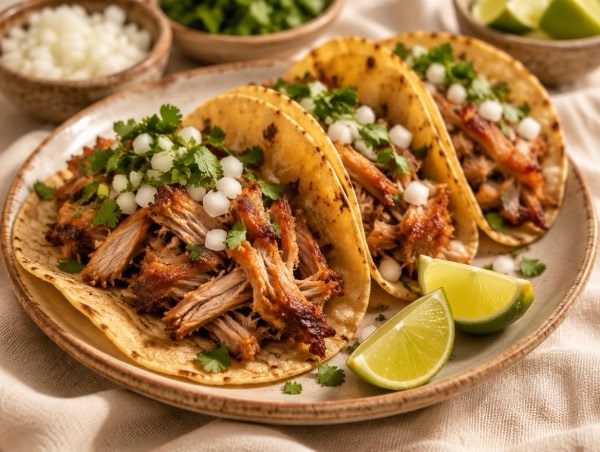
Our crispy pork carnitas are the classic example: pressure cook the pork until it shreds, then spread it out and broil until the edges crisp. The same method works for chicken thighs and wings, and for a golden top on mac and cheese with breadcrumbs.
When to use only the pressure lid
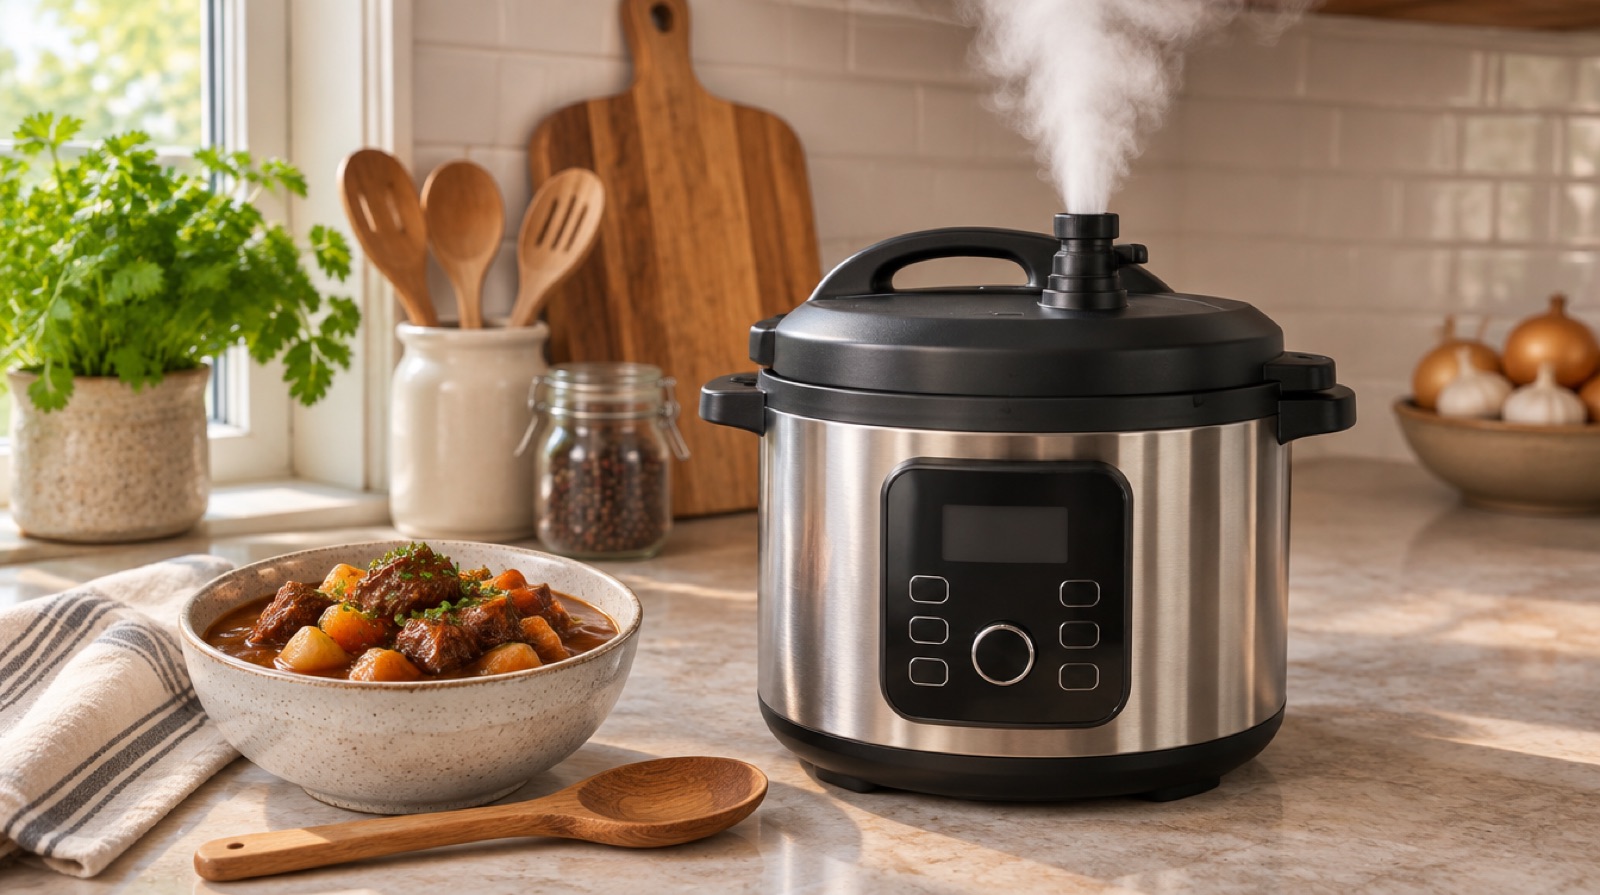
- Soups, stews and chili, where there's nothing to crisp. Try our beef stew.
- Rice, grains and beans.
- Shredded meat in sauce, like butter chicken or pulled pork.
- Cheesecakes and custards, which cook gently in steam. Our New York cheesecake is made this way.
- Pot roast, unless you want to brown the vegetables at the end, as in our pot roast with gravy.
When to use only the crisping lid
- Anything you'd make in an air fryer: fries, wings, nuggets, vegetables. Use the crisper basket so air reaches the bottom.
- Reheating leftovers so they're crisp, not soggy.
- Small bakes, like a cake or cobbler in a pan that fits the pot.
- Dehydrating fruit or jerky on the rack, if your model has that function.
Because the Foodi pot is deep, food sits farther from the element than in a basket air fryer, so expect times a little longer than a typical air fryer chart and use the rack or basket to bring the food closer.
Example: crispy chicken thighs in one pot
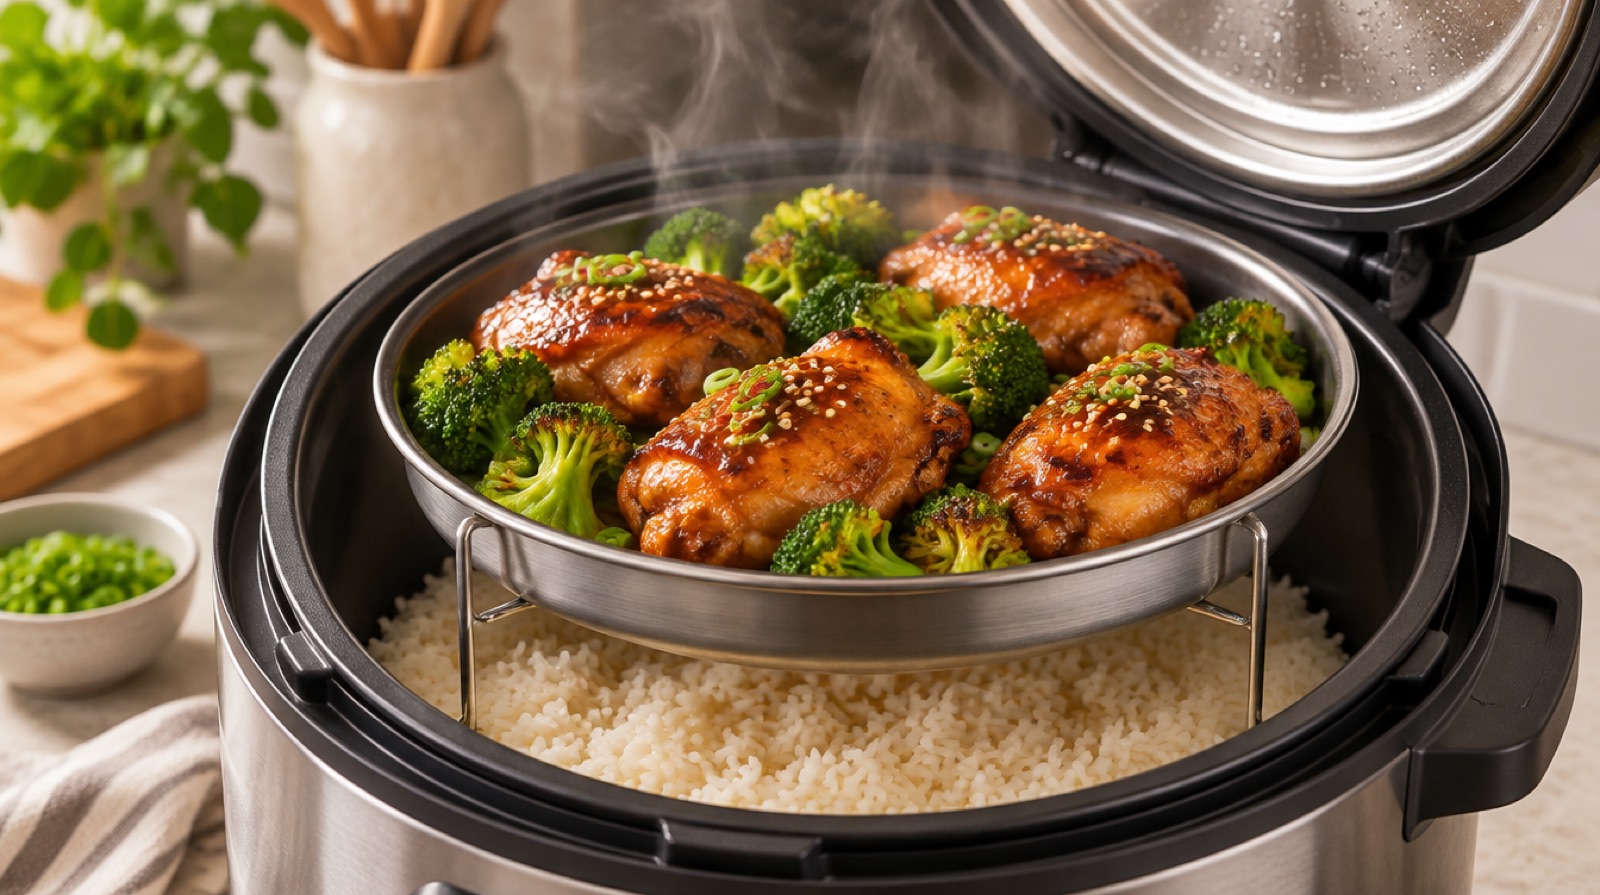
Here's how the two-lid method plays out on a weeknight. Season 6 bone-in, skin-on chicken thighs. Put 1 cup of broth in the pot, set the thighs on the rack, and pressure cook on high for about 12 minutes with a 10-minute natural release. At this point the meat is fully cooked and tender, but the skin is pale and soft.
Remove the pressure lid, lift out the rack, and pour off the broth (save it for rice or gravy). Pat the skin dry, brush with a little oil, put the rack back, and close the crisping lid. Air crisp at about 400°F for 8–10 minutes, until the skin is browned and crackly and the thickest thigh reads at least 165°F. You get braised-tender meat with roasted skin in about 45 minutes, start to finish.
Mistakes to avoid
- Crisping food sitting in liquid. It won't brown. Pour off or reduce the liquid first.
- Closing the crisping lid with the pressure lid's ring or valve parts wet and in the way. Store the pressure lid off the unit while crisping, and keep its seal clean and dry.
- Forcing the pressure lid open. Wait for the float valve to drop; the lid unlocks when pressure is gone.
- Using the crisping lid with tall food. Leave space between the food and the element, roughly an inch or more.
- Forgetting the silicone ring. The pressure lid won't seal without it in place. Wash it regularly, because it holds onto smells.
- Overfilling the pot before pressure cooking. Stay below the max line, and half full for beans and grains.
Single-lid Foodi models
Some newer Foodi multi-cookers replace the two lids with one hinged lid and a slider. Typical positions are pressure, air fry/stovetop, and a combined steam-and-crisp mode that steams food and then browns it without changing anything. The principle is the same: steam or pressure for tenderness, hot air for browning. A combination mode simply automates the switch.
If you're new to your Foodi, start with a recipe that uses both stages, like our chicken and rice or carnitas, to get a feel for the swap. More ideas are on our Ninja Foodi recipes page.
FAQ
Which Ninja Foodi lid do I use for air frying?
The crisping lid, the hinged lid attached to the unit. Remove the pressure lid first, and use the crisper basket or rack for the best airflow.
Can I pressure cook with the crisping lid?
No. Only the pressure lid seals and builds pressure. The crisping lid is for air crisping, baking, roasting, broiling and dehydrating.
Which lid do I use to slow cook in a Ninja Foodi?
On most models, the pressure lid with the valve set to vent, or a glass lid accessory if you have one. Check your manual for your model.
How do I make food crispy after pressure cooking?
Release the pressure, remove the pressure lid, drain or reduce the liquid, then close the crisping lid and air crisp or broil for 5–15 minutes.
Why won't my Foodi start the function I selected?
Usually the wrong lid is in place, or the slider is in the wrong position on single-lid models. Most units won't run a function with the wrong lid.
Recipes to try
 Foodi & Speedi
Crispy Pork Carnitas (Ninja Foodi Pressure Cook + Broil)
629 kcal · 42 g protein · 90 min
 Foodi & Speedi
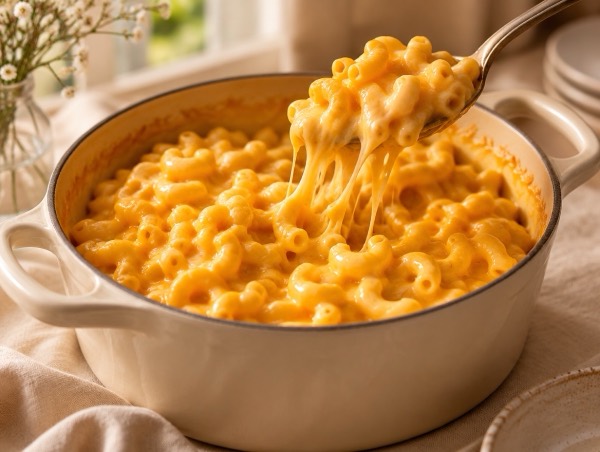
4-Minute Pressure Cooker Mac and Cheese (Ninja Foodi)
568 kcal · 25 g protein · 20 min
 Foodi & Speedi
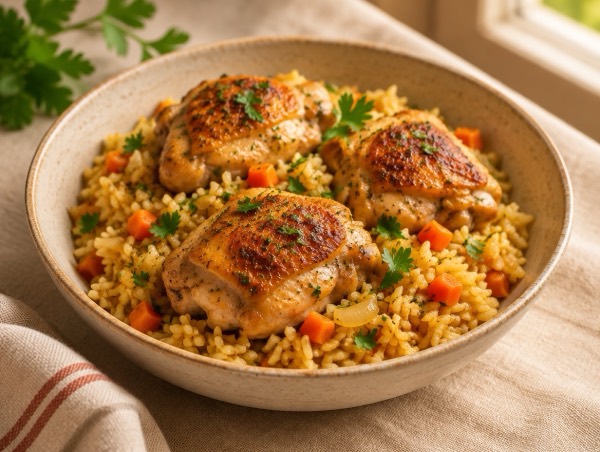
Pressure Cooker Chicken and Rice (Ninja Foodi)
490 kcal · 33 g protein · 32 min
 Foodi & Speedi
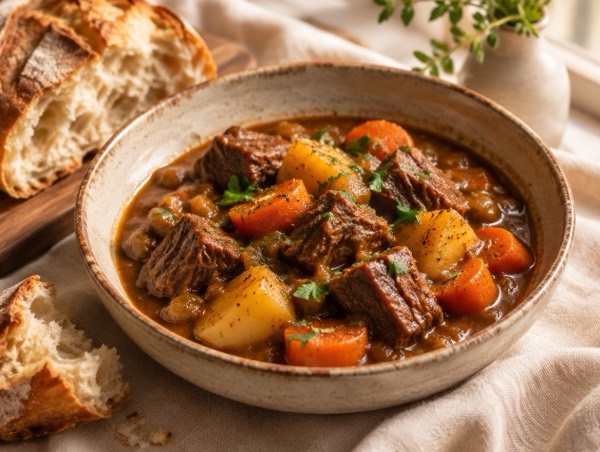
Pressure Cooker Beef Stew (Ninja Foodi)
465 kcal · 34 g protein · 80 min
 Foodi & Speedi
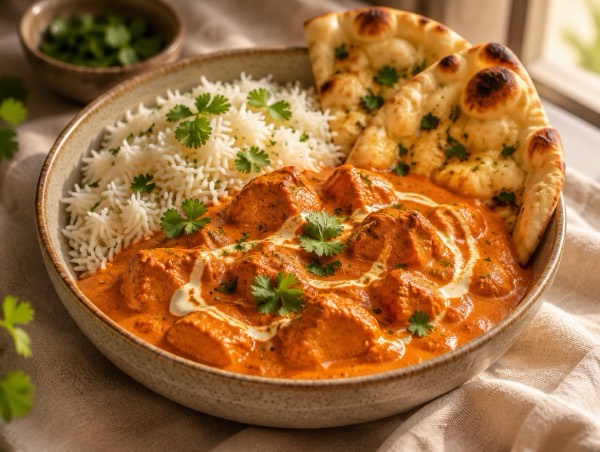
Pressure Cooker Butter Chicken (Ninja Foodi)
364 kcal · 32 g protein · 40 min
 Foodi & Speedi
Pressure Cooker New York Cheesecake (Ninja Foodi)
408 kcal · 6 g protein · 75 min
 Foodi & Speedi
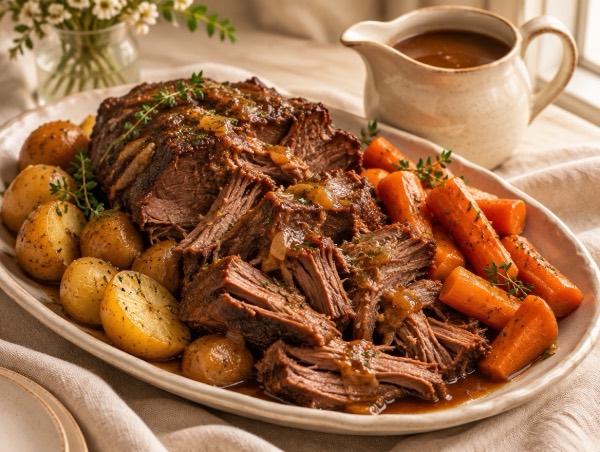
Pressure Cooker Pot Roast with Gravy (Ninja Foodi)
471 kcal · 37 g protein · 110 min